In prepress, often encountered in the image there are distinctly different color blocks, one color block is covered by another color block, printing, each printing a color, often appear between color blocks and color blocks Can not be perfectly superimposed, this kind of overprinting caused by mechanical problems, must be handled before printing, we call it trapping.
Trapping is a very tedious task. It is only used to correct misalignment between solid colors in CMYK images. Frequently, for a continuous tone image such as a photo, traps should not be created, and using traps can harm the image quality. It is also unnecessary to excessively trap the color patches, which will produce key lines (even crosshairs) in the CMYK plate. These problems are not visible in the composite channel and are revealed when the film is output. Visible, trapping does not make the image more exquisite, it can not be used to solve the printing problem of mechanical problems, it can only cover up the flaws caused by overprinting.
The main method of trapping is to expand the color patch area slightly so that there are some overlaps between the different color patch areas. This overlapping part should be very narrow so as to make it difficult to detect its existence on the printed matter, generally vector software (such as Adobe lllustrator, Freehand et al.) use this method to achieve trapping.
Adobe lllustrator trap method The last one of the "Mix/Trap" under Adobe lllustrator's Pathfinder panel is the trap button (Trap).
1. Need to set 3 parameters (1) Thickness. The thickness refers to the input value of trap width, which is between 0.01 and 500 points. The default value of the system is 0.25 points. Under normal circumstances, the input value is 0.5 ~ 1Points, the specific value to use according to the printer's error measurement to determine.
(2) Height/Width. Refers to the proportion of horizontal and vertical traps.
(3) Tint Reduction. Reduces the value of lighter colors in trapped colors. The darker color value remains at 100%. The default value is 40%. To reduce the apparent dark borders of the trapping area, the percentage of tones can be used to control the amount of trapped ink.
2. Option parameters (1) Select Traps with process color, then trap in the dark area; select Reverse Traps to trap in the bright area;
(2) Adobe lllustrator trap color selection order from darker to lighter order is M, C, Y;
(3) When creating a plurality of spot color versions, it is determined whether the trapped area is in a dark or light color area based on the actual ink color.
The plug-in function \Create\Trap under the Freehand software menu is basically equivalent to the Adobe lllustrator trap dialog.
Adobe Photoshop trap method
The Adobe Photoshop trap is done by interdriving channel colors. There is only one trap width option in Menu\Image\Trap. Its rules of use are: all colors expand toward black; light areas expand toward dark areas; yellow expands toward cyan, magenta, and black; and pure and pure magenta expand mutually.
This kind of trapping will inevitably produce obvious dark borders between colors. How can we use percentage to control the depth of the trapping tone, like the reduced tone option in the vector software Adobe lllustrator, to control the amount of trapped ink? We believe in practice that the following steps can achieve this effect.
(1) Open a file named "TP".
(2) Copy "TP copy" and "TP copy 2" under menu \Image\Copy; first execute "TP copy 2" file \image\trap, the width is identified as 1Points; select all, cut, copy Go to the "TP copy" file.
(3) Get a new layer 1 in the "TP copy" file. Press F7 to activate the layer panel and change the layer 1 mode to Difference mode. Since the difference mode is the absolute value of the luminance difference of the corresponding pixel in each channel, the layer 1 and the background will get a black window after the operation.
(4) After merging layers, Inverse is used to obtain white areas and trap areas. Then select, cut, copy to "TP" file.
(5) Change the mode of the new layer 1 obtained from the "TP" file to Multiply, change the Opacity, and set the percentage as if to reduce the tone options. Then merge the layers. .
Trapping is necessary for prepress processing, but the width of the trap and the setting of the percentage of trapping white tone should be determined based on the actual printer's error measurement, and proper handling should be adopted to avoid the phenomenon of missing printed matter.
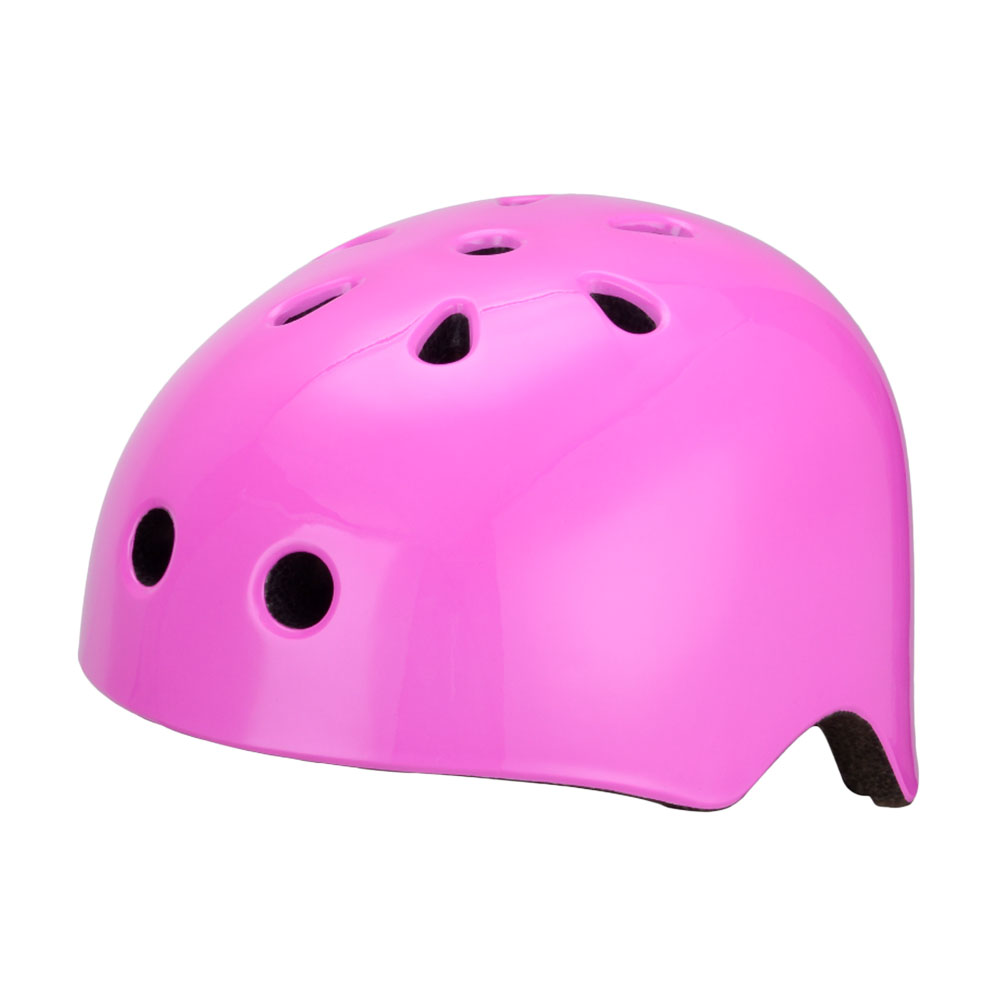
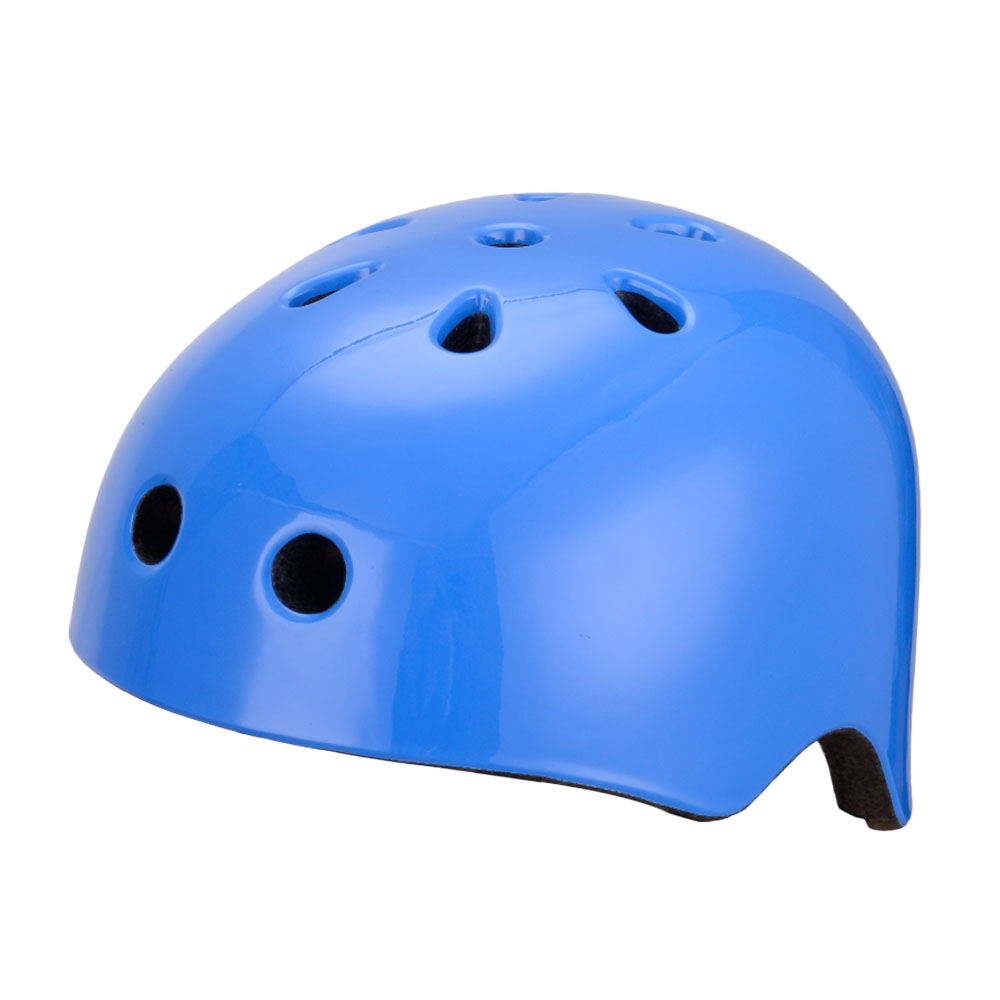
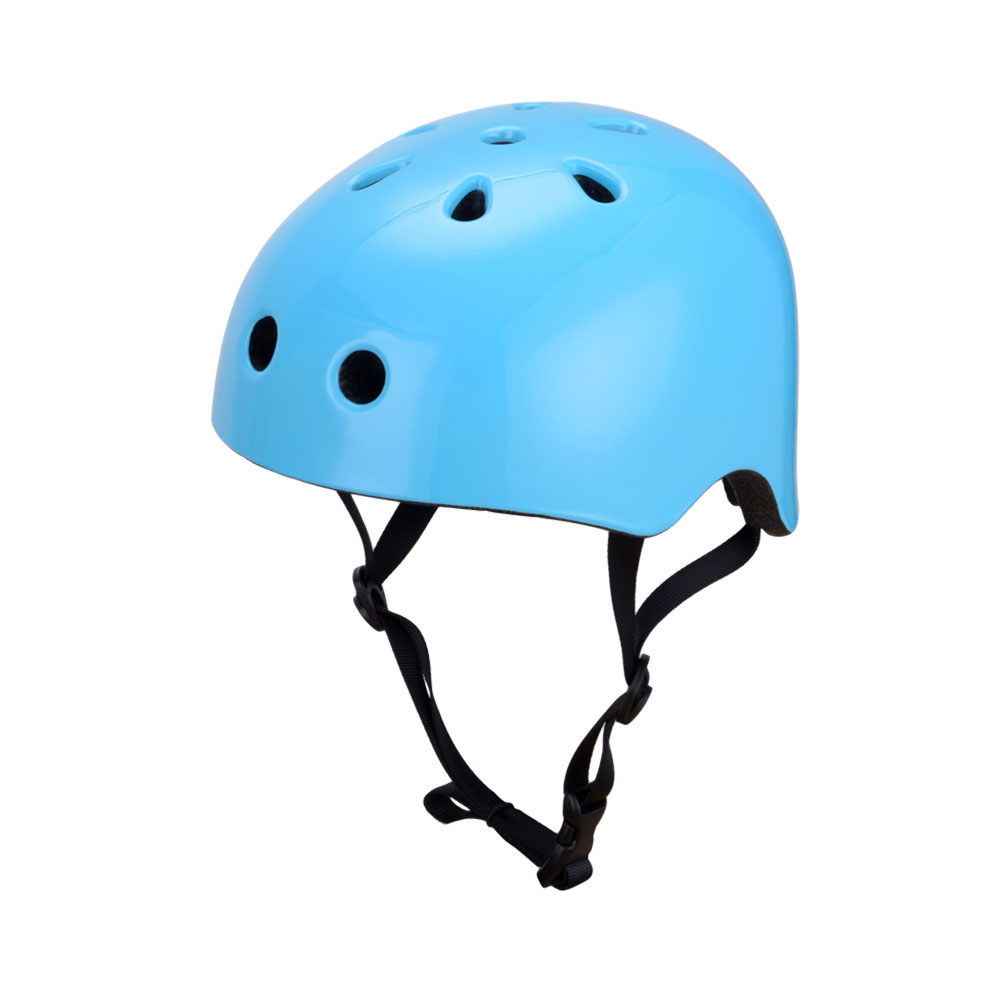
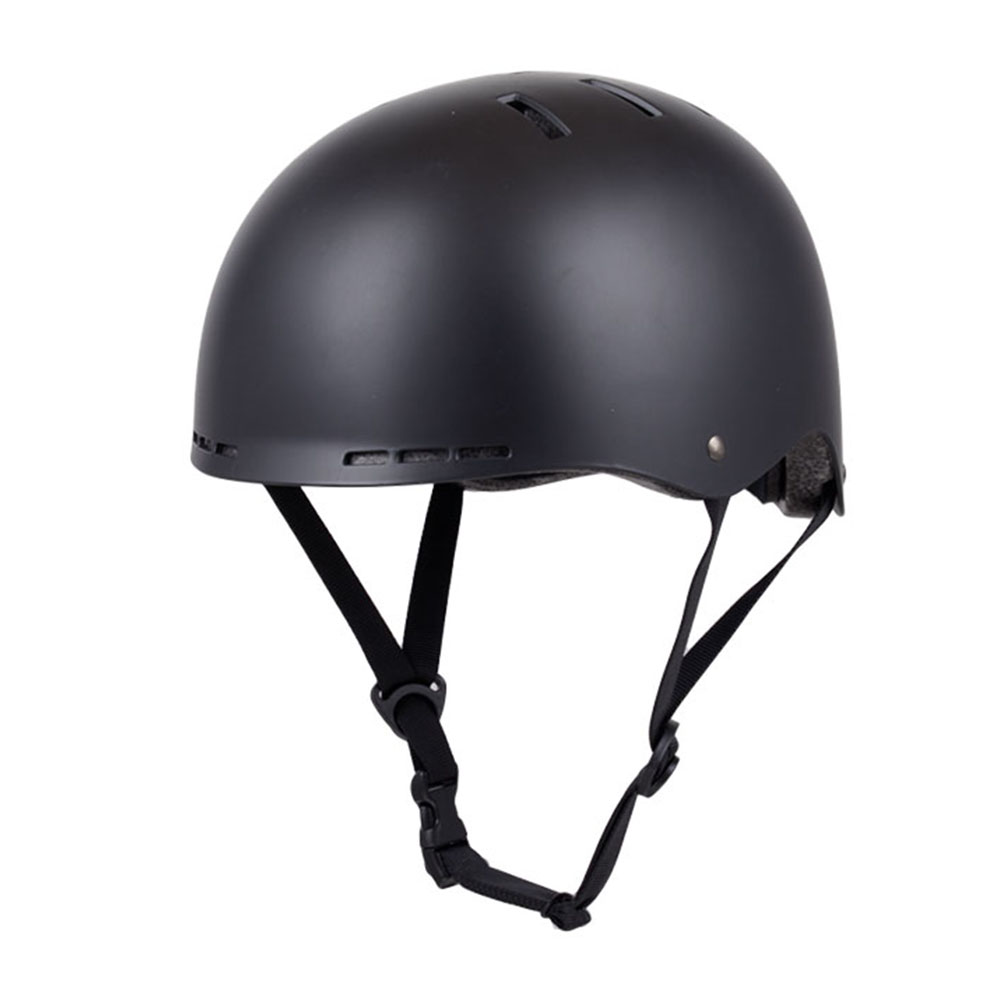
Skateboarding is becoming more and more popular, a quality helmet is your most important safety device. If you don't wear a helmet when you are riding a scooter, the scratched sprain can recover quickly, but the damage to your head will greatly affect your future life. Some people like to use a Bicycle Helmet as a skateboard helmets which also are light weight, breathable and stylish.
Feature:
1. Process: In mould or out mould
2. Material: PC+EPS, PVC+EPS, ABS+EPS
3. Vents: 9-32
4. Weight: 220g-385g
5. Size: S/M/L
6. Color: any color or pattern
7. Packing: Gift box and Master carton
8. OEM: accept.


Skateboard Helmet,Skate Helmet,Kids Skateboard Helmet,Cool Skateboard Helmets
Taishan Yuexin Group , http://www.yuexingroup.com
