Handmade Paper Windmills
Creating a handmade paper windmill is a fun and creative activity that can be enjoyed by both kids and adults. The materials you'll need are simple and easy to find: colored paper, colored pencils, pushpins, scissors, and disposable chopsticks.
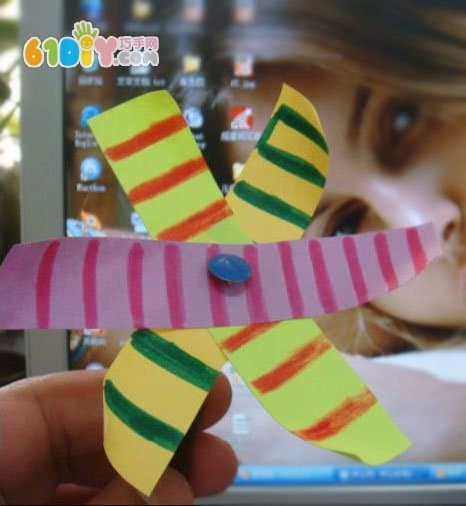
Step 1: Start by drawing a pattern on a rectangular piece of paper. You can use one or two colors for the vertical lines, depending on your design preference.

Step 2: Carefully cut along the horizontal line to create three separate sheets of paper.
Step 3: Fold and arrange the pieces together to form the shape of a windmill, as shown in the image.
Step 4: Use a pushpin to attach the windmill to a chopstick, making sure it's secure but still able to spin freely.
Step 5: Finally, roll the blades of the windmill in one direction only. If you roll them incorrectly, the windmill may not turn when the wind blows.
Once completed, your handmade windmill is ready to spin in the breeze! It’s a great project for learning about aerodynamics and also makes a lovely decoration for your home or garden. Try experimenting with different colors and patterns to make your own unique windmill.
wire dermpen without battery inside, medical use with high speed,wire derma pen, wire dermapen,medical use Dr.Pen,high speed derma stamp pen,electric dermapen, auto micro needle pen
wire derma pen, wire dermapen,medical use Dr.Pen,high speed derma stamp pen,electric dermapen, auto micro needle pen
Guangzhou Vantee Electronic Technology Co., Ltd. , https://www.finerroller.com