Handmade Paper Windmills
Creating your own paper windmill is a fun and creative activity that's perfect for kids or anyone who loves DIY projects. You'll need some basic materials like colored paper, colored pencils, pushpins, scissors, and disposable chopsticks.
Step 1: Start by drawing a pattern on a rectangular piece of paper. You can use one color or two, depending on your design. This will be the base of your windmill.

Step 2: Carefully cut along the horizontal lines to create three separate strips of paper. These will become the blades of your windmill.
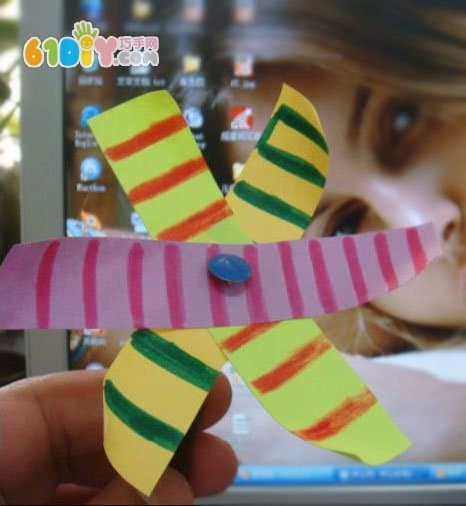
Step 3: Fold each strip in half and arrange them so they look like the image shown. Make sure the folds are aligned properly to ensure smooth rotation later.
Step 4: Use a pushpin to attach the windmill to a chopstick. This will act as the central axis, allowing the blades to spin freely when the wind blows.
Step 5: Finally, roll the blades in one direction—this ensures the windmill spins smoothly when placed outside. If you roll them in different directions, it might not turn at all.
Once completed, you can place your windmill in a sunny or windy spot to watch it spin. It's a great way to bring creativity and nature together in a simple, hands-on project!
Replaceable 36 Golden Pins Micro Stamp
Replaceable 36 golden Pins Micro Stamp ,replaceable derma stamp, golden hydra stamp, 36 pins hydra derma stamp,micro needle stamp,derma needles stamp,micro derma stamp,meso hydra stamp,skin needling stamp,face derma stamp, facial hydra stamp cosmetic stamp
replaceable derma stamp, golden hydra stamp, 36 pins hydra derma stamp,micro needle stamp,derma needles stamp,micro derma stamp
Guangzhou Vantee Electronic Technology Co., Ltd. , https://www.finerroller.com